
From Matisse to Murakami
At the high school this year, we created a new class for students to fulfill their art-credit requirement while working in our FabLab. (Design and Fabrication)
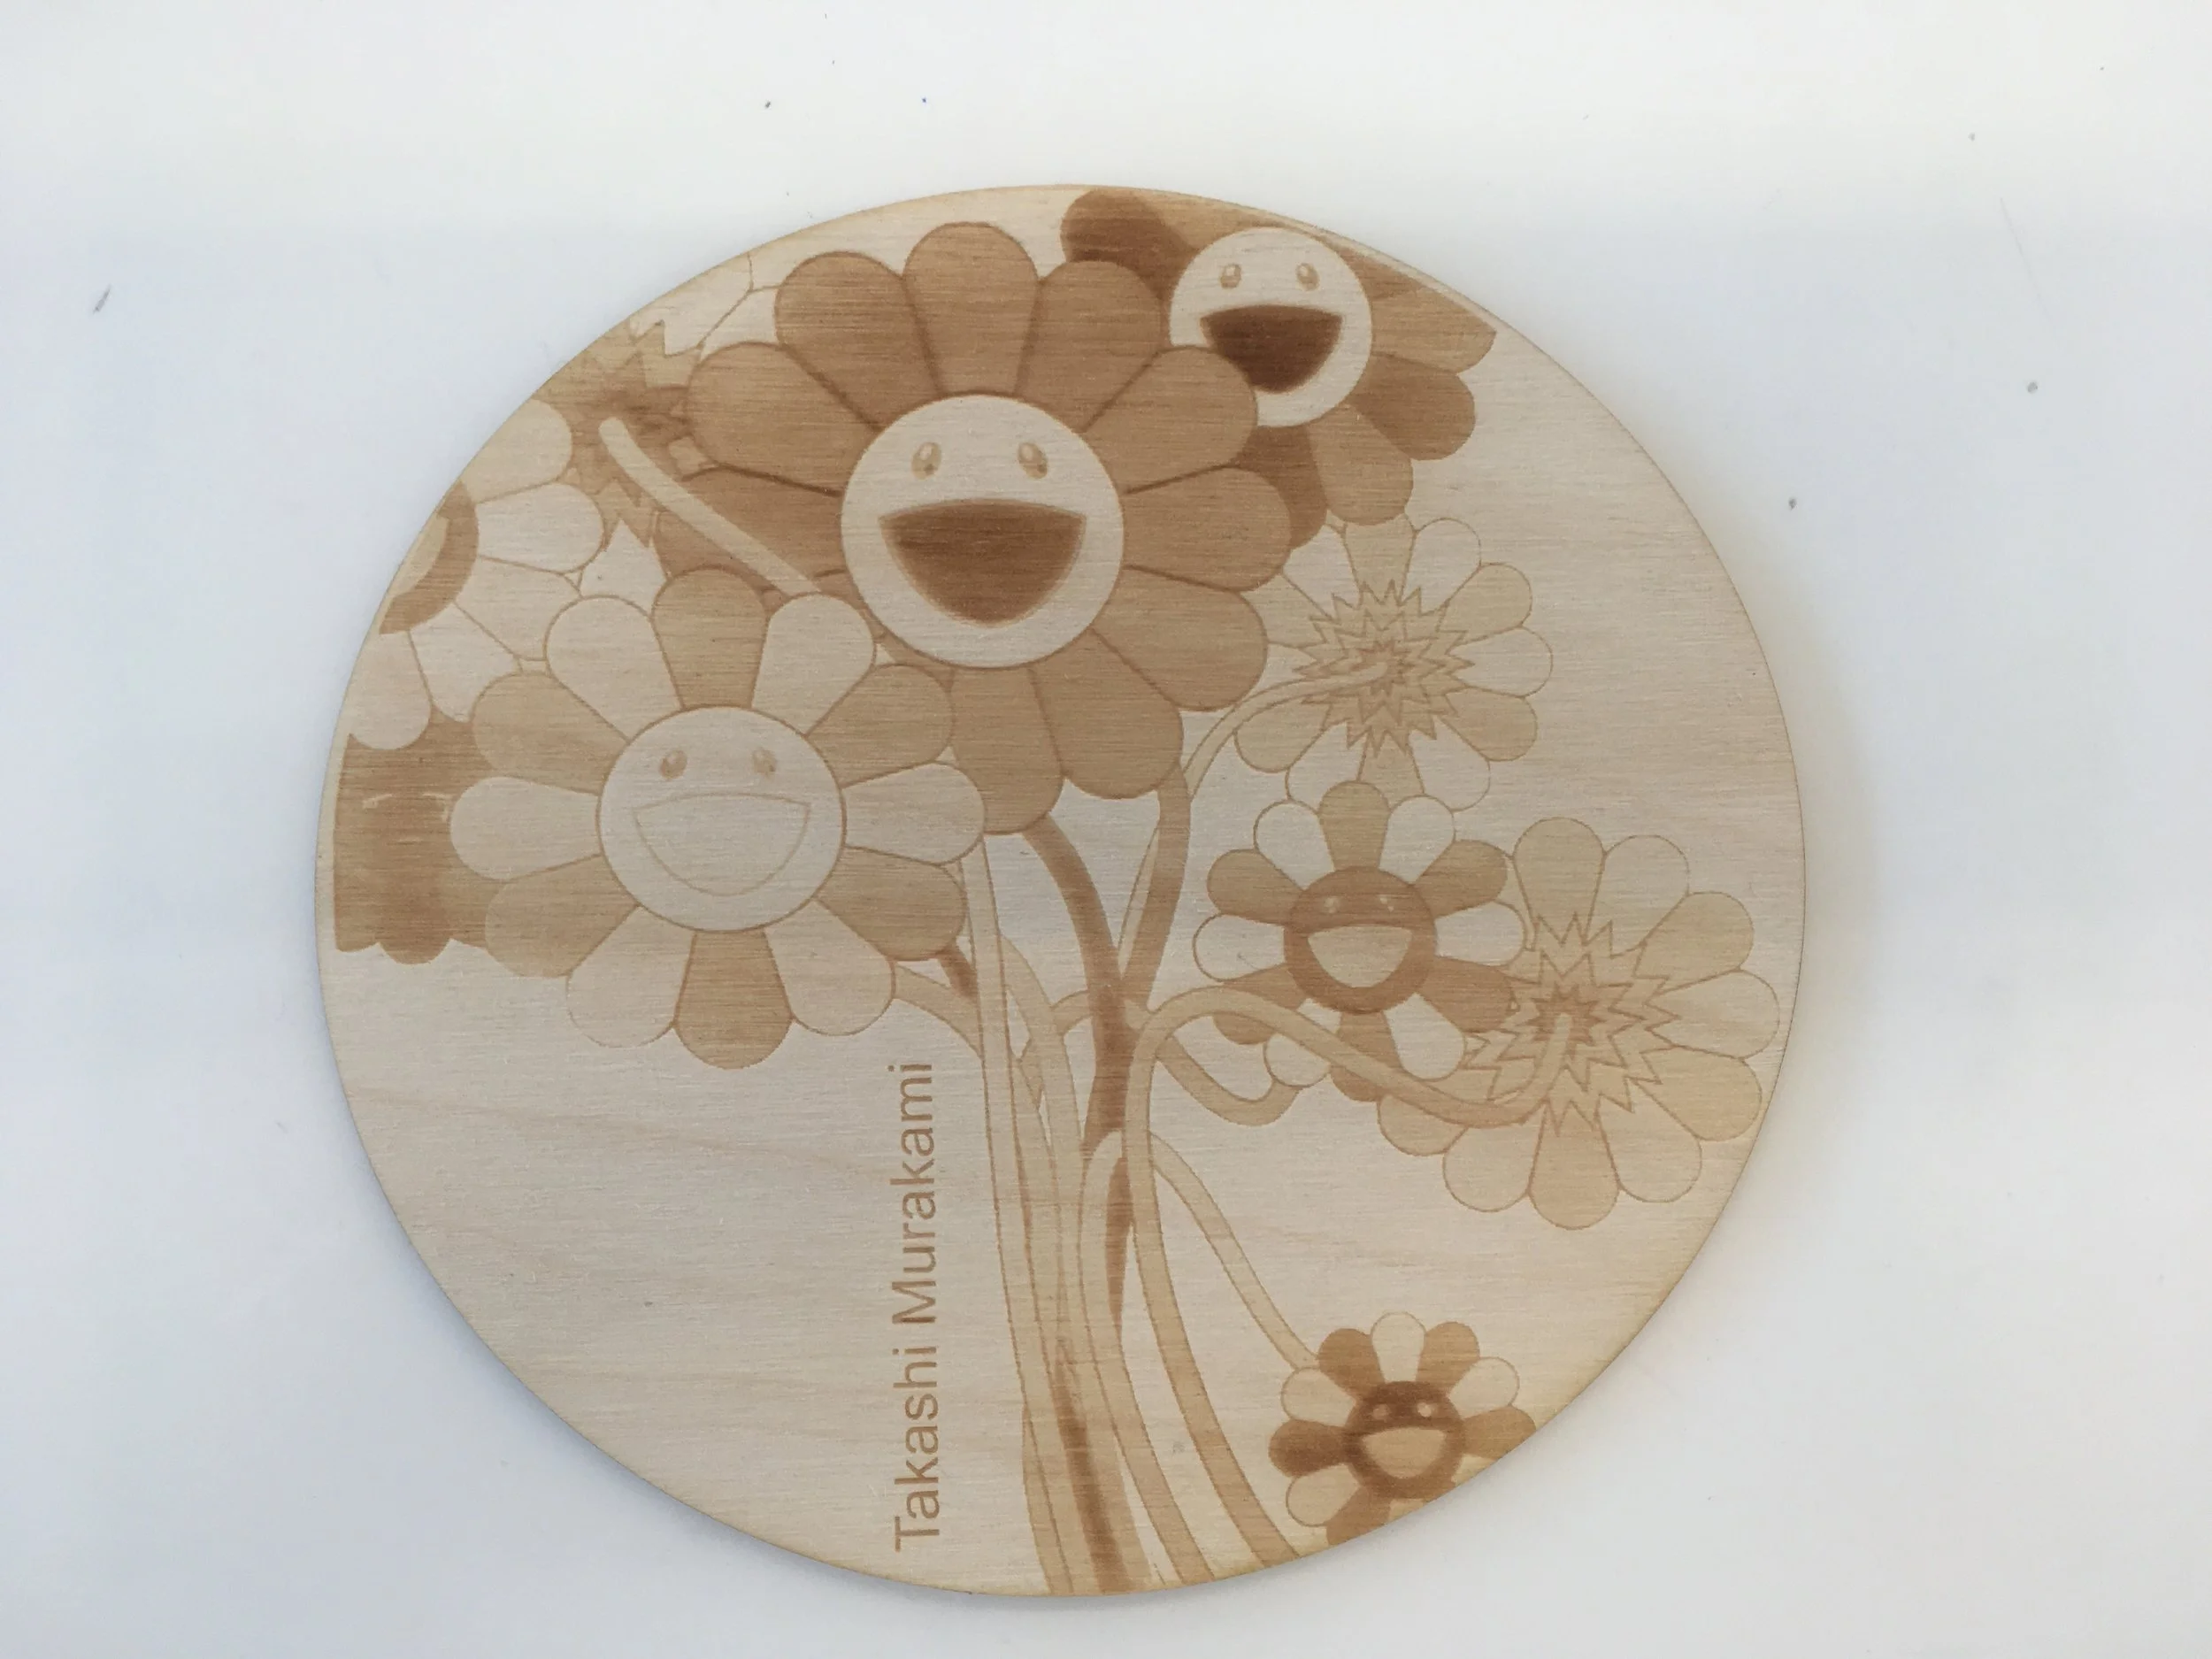
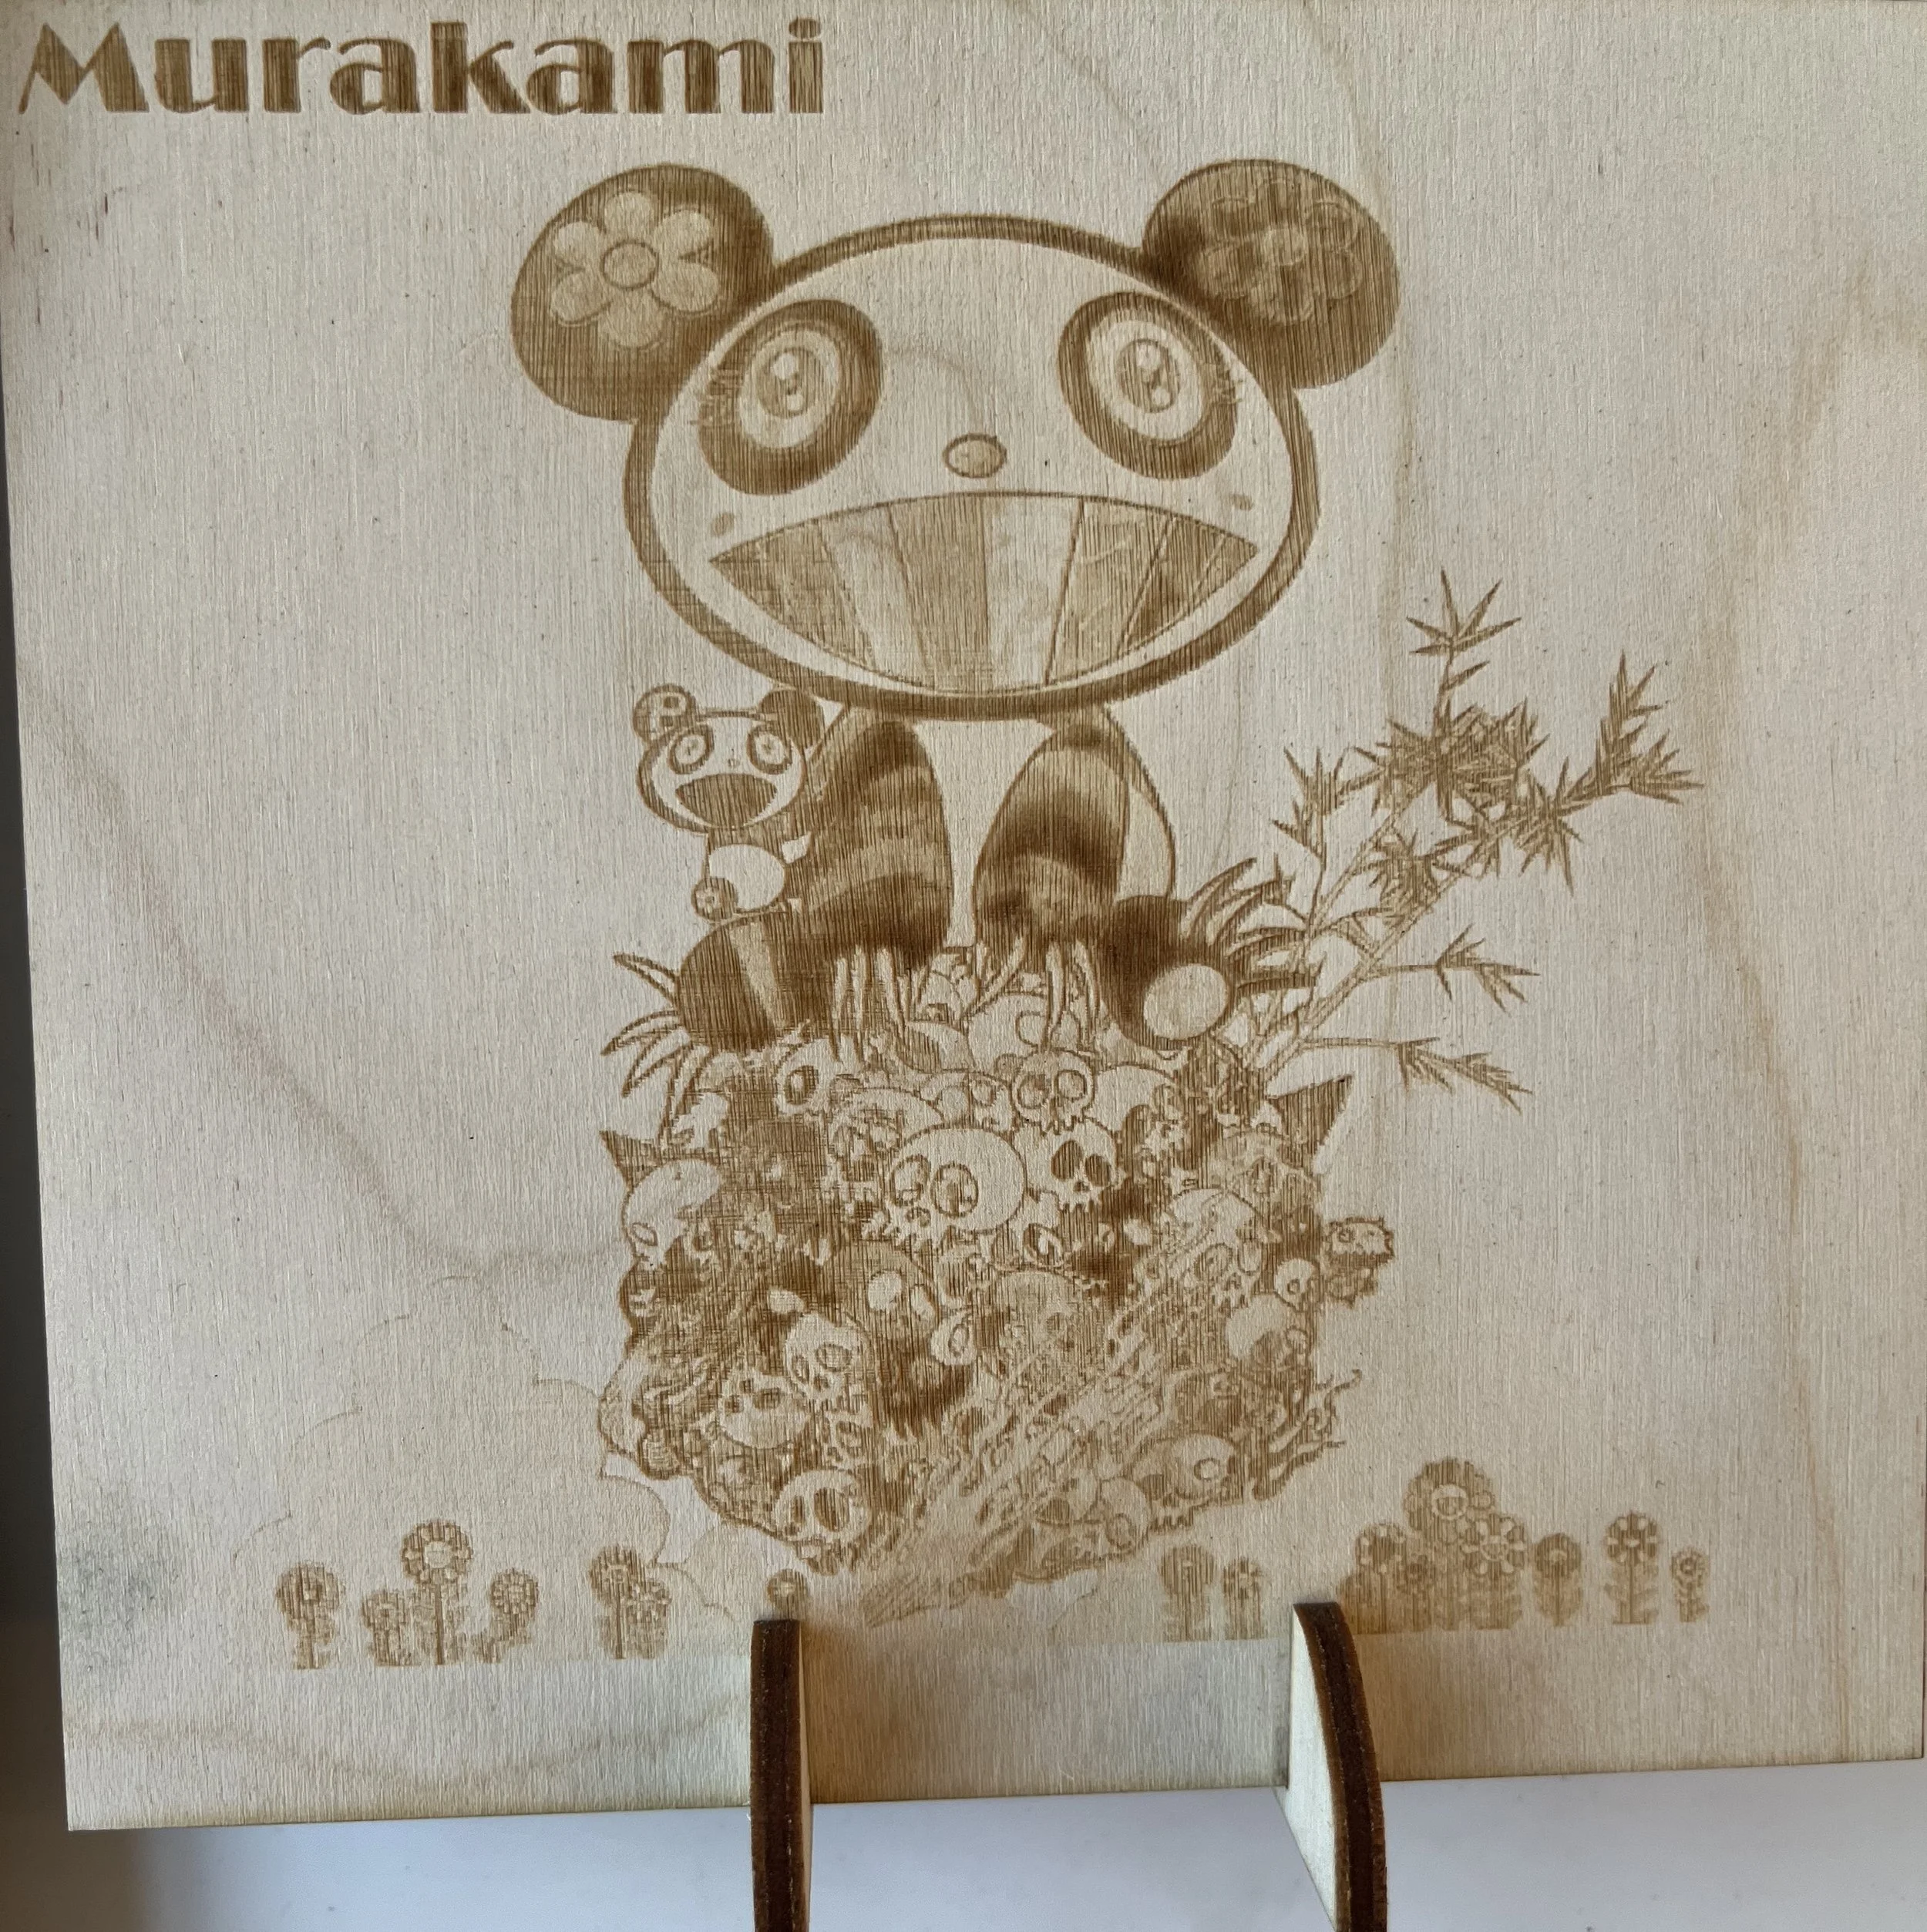
We start each new project with a brief slide show. In this lesson, I shared some of my father’s college textbooks (He was an art history major at U. Wisconsin) as well as some of my art books. That’s why this project is called “From Matisse to Murakami”. After studying the artist of their choice (and sharing a presentation on the artist in class), students were to take a small piece of their chosen artist’s work (a piece of a Matisse, as it were) and “double laser engrave” it.

Process, Process, process
The process is more difficult than it sounds. Students start with the piece of art and turn it into black and white. There are several ways of doing this. Inkscape has a “Filters” menu that can help you and Preview (native on your mac laptop) can also do it. Getting to black and white without ruining the picture took patience and iteration. We practice both of those skills.
After you have a black and white small piece of an artist’s work, you “double engrave” it. This means engraving the entire picture with the laser in focus and then unfocusing the laser and engraving again. It’s this un-focused laser that creates the darker engrave and lends some depth to the picture. This process doesn’t work on any-old-piece-of-wood, either. The 3mm baltic birch plywood is perfect for this job because the top layer is a light birch and the next layer down (it’s plywood) is some junky darker stuff mixed with glue.